
Your app cannot access FlickRocket data without authenticating first. It must get permission from a user before gaining access to any of the resources in the REST API. This guide will walk you through the authorization process (described in greater detail by the OAuth 2.0 specification).
Before getting into the nitty-gritty of the authorization process, let’s go over some of the terms that we’ll be using for the rest of the guide.
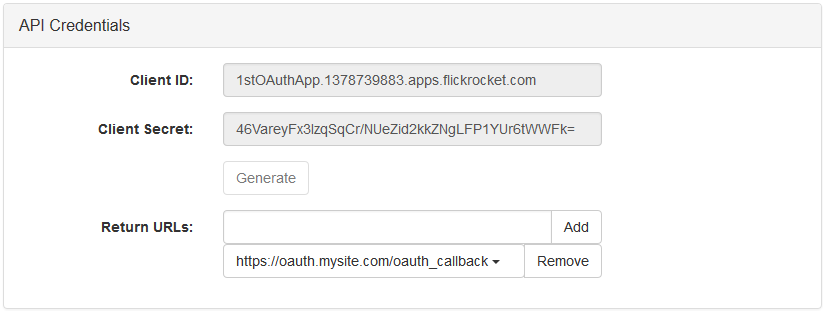
You will need to retrieve a Client ID and Shared Secret, as the client uses them to identify itself during the authorization process. Also, you'll need to specify one or more valid redirect_uris.
To do this, open Products/Manage Products and create a new product of the type "App for Flickrocket App Store". Once you created the app product, locate the “API Credentials” section.

After creating the credentials, the new app will also appear in the admin interface under "Extensions / Manage Apps".
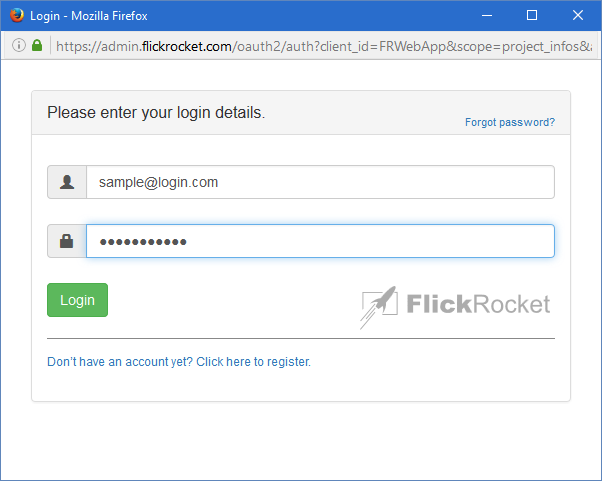
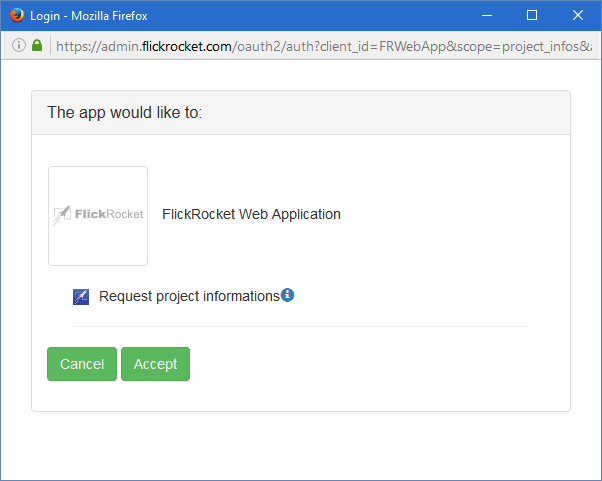
The first step of the process is to get authorization from the user. This is done by displaying a prompt provided by Flickrocket:


To show the prompt, redirect the user to this URL:
https://api.flickrocket.com/oauth2/auth?client_id={client_id}&scope={scopes}&access_type=offline&redirect_uri={redirect_uri}With these substitutions made:
For example:
https://api.flickrocket.com/oauth2/auth?client_id=FRWebApp&scope=products&access_type=offline&redirect_uri=api_tester.html
During the installation will the user will be redirected to the client server as specified above. One of the parameters passed in the confirmation redirect is the Authorization Code (the other parameters will be covered later in the guide).
https://example.org/some/redirect/uri?code={refresh_token}&companyid={company_id}
After this, the refresh_token can be exchanged once for an access_token, which expires after some time. The exchange is made as follows.
POST https://api.flickrocket.com/token?grant_type=refresh_token&refresh_token={refresh_token}&client_id={client_id}
The server will respond with the following JSON containing an access_token and related information:
{
expires:"Thu, 21 Apr 2016 14:00:22 GMT",
issued:"Thu, 21 Apr 2016 13:30:22 GMT",
access_token:"gjRiyX1zl4JsmOS.......5a4LYXq60g6oEzmIg",
access_type:"offline",
as:client_id:"FRWebApp",
expires_in:1799,
refresh_token:"686ef3e7410b41858237daeaf4dc550b",
scope:"products,orders,customers,themes,files",
token_type:"bearer",
userName:"someone@somewhere.com"
}
It is important that the new refresh_token from the JSON above is always stored permanently, as this is the only way to retrieve a new access_token, which is then used for authorization when calling the REST interface.
Important: If the refresh_token is lost, the only way to get access again is by manually removing permissions in the admin interface and start over again.
After the application obtains an access token, it can use the token to make calls to the FlickRocket REST API on behalf of a given user account or service account. To do this, you must include the access token in a request to the API by including either an access_token query parameter or an Authorization: Bearer HTTP header. When possible, the HTTP header is preferable, because query strings tend to be visible in server logs. In some cases you can use a client library to set up your calls to FlickRocket APIs.
You can validate and retrieve information for an access_token with the following get:
GET https://api.flickrocket.com/api/tokeninfo?access_token={access_token}
If the access_token is valid, information as follows is returned.
{
 "issued_to": "SomeWebApp",
 "user_id": "user@fromapp.com",
 "scope": "products,orders,customers",
 "expires_in": "1738",
 "access_type": "offline"
}
The expires_in time is specified in seconds. If the access_token is not valid, an error is returned. Possible error values are: expired, access_token required, invalid access_token.
Part of the authorization process requires specifying which parts of a shop’s data the client would like access to (see the “Getting permission” part of this guide). A client can ask for any of the following scopes:
| products | The application can get, modify, create and delete products and categories. |
| customers | The application can get, modify, create and delete customers. |
| orders | The application can get, modify and create orders. |
| themes | The application can get, modify, create and delete themes. |
| files | The application can get and create content files. |
| companies | The application can get, modify, create and delete company data (own and associated) |
| statistics | The application can get company/shop statistics. |
| webhooks | The application can get, modify, create, delete and use webhooks |